Account Settings, Team, and Notifications
In this segment, we'll be teaching you all the basics of setting up your account details and payment information.
Lesson progress
We'll be covering all the basics of setting up your account, including adding payment information, inviting team members, setting up permissions, managing notifications, adding your brand (logo and color), and much more.
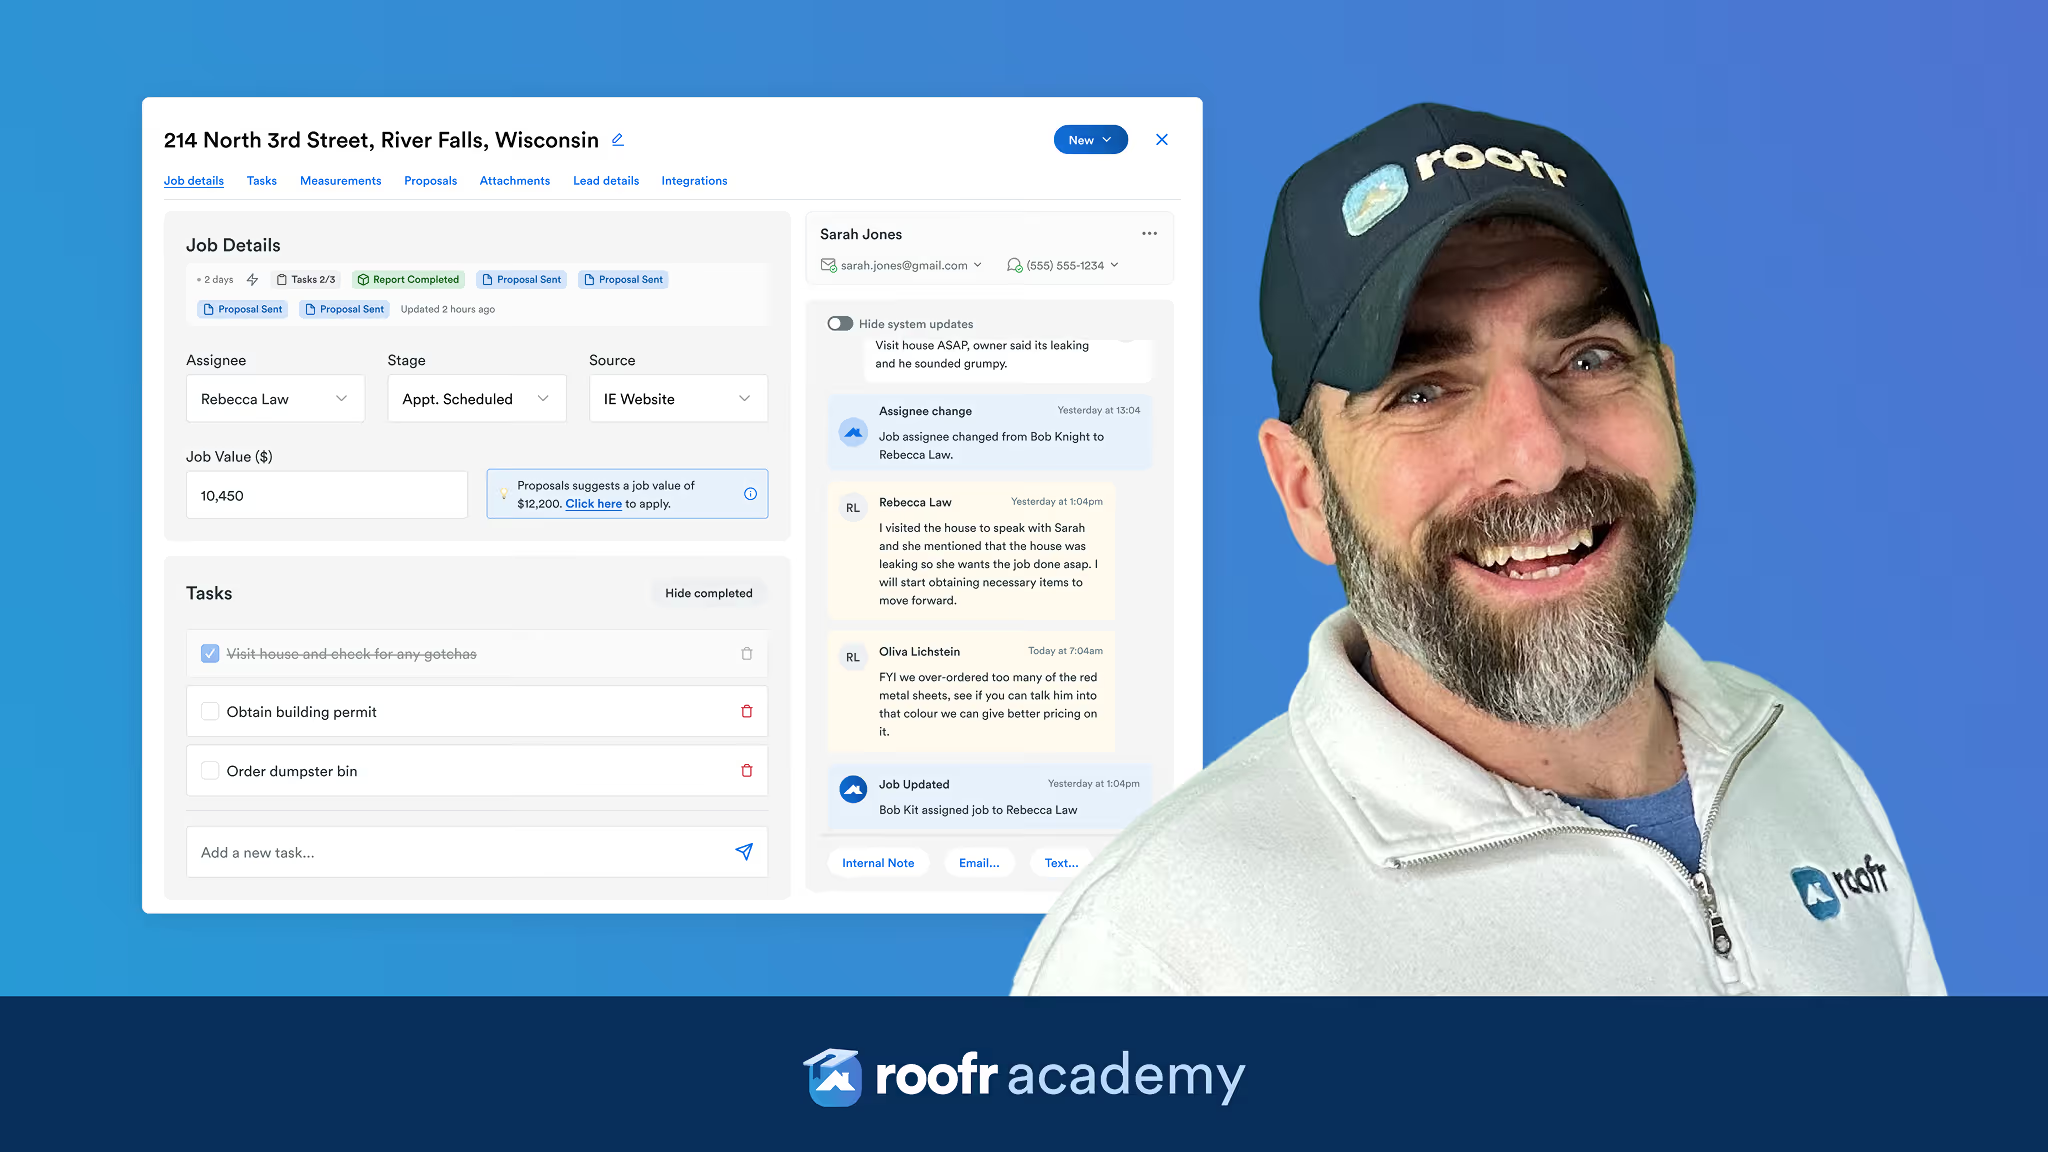
Welcome to your Roofr dashboard. We recommend saving this webpage in your bookmarks bar for easy access. You can do that by clicking the star icon next to the address bar.
Step 1: Update Your Company Profile
Before starting anything else, make sure your company profile is up-to-date:
- Purpose: This is where your logo, company name, and contact info will be pulled from for reports, invoicing, customer communications, and more.
- Why It Matters: Keeping this set up is essential for brand consistency and will save time, ensuring your company appears consistently across all interactions with users.
- How to Access: Click the Roofr icon near your email in the top left corner and select User Profile from the dropdown menu. Alternatively, go to Settings on your main left navigation bar.
Settings Overview:
- Personal: Update your email, phone, address, password, and set preferences for product update notifications. These preferences can be changed anytime.
- Company: Add your company name, website, address, logo, and brand colors here to ensure every customer-facing document, like proposals, measurements, and invoices, looks consistent.
Tip: Every interaction your team has with a customer will be branded and professional, ensuring a consistent experience no matter the size of your team.
Step 2: Add Team Members
We encourage you to invite your team members to join your office on Roofr:
- Why It Matters: Adding team members helps enforce your processes, ensuring jobs and tasks are properly assigned, tracked, and followed.
- Payment Requirement: To add team members, first add a payment method by clicking on Purchases and selecting Edit Payment Method. This payment method will be used for Roofr purchases, such as Roofr Reports, and historical purchases can be viewed and exported from the Company Profile.
How to Add Team Members:
- Go to the Team tab, enter your team member’s work email, select a role, and send the invite.
- Role Selection: Assign roles to control access levels and ensure team members have appropriate permissions for their job responsibilities.
Permissions Example:
- Members: Can only view and access jobs assigned to them.
- Managers: Have broader access to view and edit all job records, giving you control over visibility while maintaining confidentiality.
Need More Seats? Roofr includes a set number of seats per plan and does not charge per seat, allowing your team to have individual profiles as needed.
Step 3: Explore Subscription Features
Some features, such as text message notifications, the Instant Estimator, material ordering, automation tools, discounts, invoicing, and payment processing, are available on different subscription tiers:
- Upgrade Options: Access additional seats or features anytime by upgrading your account.
- Need Help? Our support team is here to assist with any questions about these features.
Integrations:
- If you use tools like CompanyCam or GoodLeap, or want to integrate with other platforms, head to the Integrations tab in your company profile. Setup instructions are linked below each integration.
Setting up all this information is the first step in using your new Roofr account effectively. While it may take some time, completing it will make future tasks—like ordering measurements and building proposals—much smoother.